The first start
Do these steps one time, after you install Ottertrail. Run each command in the instance’s folder, next to compose.yaml and .env.
Start the services
Section titled “Start the services”-
Start the stack:
Terminal window docker compose up -dCompose downloads the images. Then it starts the databases,
migrate, the API, the worker, and Caddy. -
Look at the state of the services:
Terminal window docker compose psmigratemust showExited (0).apimust showhealthy. With Garage,garagemust showhealthytoo.
If a required setting is empty, Compose stops before it starts anything, and it names the setting: set … in .env.
If an object store key is empty, migrate or garage stops instead. Read the service’s log to find the cause:
docker compose logs migratedocker compose logs garageFill in the setting, then run docker compose up -d again.
Create the owner account
Section titled “Create the owner account”-
Make the setup link:
Terminal window docker compose exec api node dist/setup.mjsThe command prints a link such as
https://analytics.example.com/setup#token=…. -
Open the link in your browser within one hour. The link works one time.
-
Enter your Name and Email.
-
Enter an Instance name. It shows at the top of the dashboard’s sidebar. Use your company or team name, for example.
-
Enter a Password of at least 12 characters, and the same password in Confirm password.
-
Check the Timezone. Your browser’s timezone is selected. Reports count days in this timezone.
-
Select Create account. The dashboard signs you in as the owner.
The page also says whether email for alerts is set up on the server. Alert email is optional: alerts can go to webhooks without it. See SMTP_URL in the configuration reference.
If the link expires, run the command again. The new link replaces the old one. After the owner exists, the command refuses to make a link.
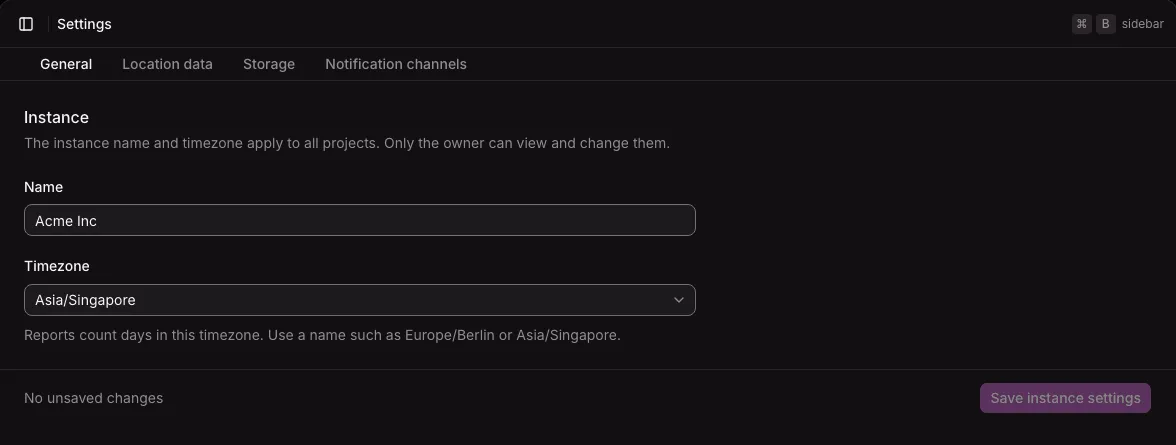
You can change the instance name and the timezone later: open Settings from the workspace menu, on the General tab. Only the owner sees this tab.
The location data
Section titled “The location data”Ottertrail finds each visitor’s country, region, and city in a location database from DB-IP. It also ignores browsers that run in cloud and hosting providers’ data centers, from a list of their address ranges. Neither file comes with the image.
You do not need to download them. The worker downloads both files when it first starts, and the API loads them within 10 minutes, without a restart. Until then, the instance stores events without a location, and it does not recognise visits from data centers.
After that, the worker keeps both files current by itself: the location database each month, and the data-center ranges each week. The server must reach DB-IP and the providers over HTTPS.
To check that the files arrived, open Settings, then the Location data tab. Each file shows Loaded when the API uses it. On an instance without internet access, the owner turns the automatic updates off there, and updates the files by hand. See Location data.
Next steps
Section titled “Next steps”- Create a project in the dashboard, and add its tracker snippet to your site. See Add the tracker. The tracker reference lists every option.
- Invite your teammates. See Invitations.
- Choose the notification channels for storage warnings, so that you hear before the disk is full.
- Plan your backups. Ottertrail does not make backups automatically.
- Read the security notes.